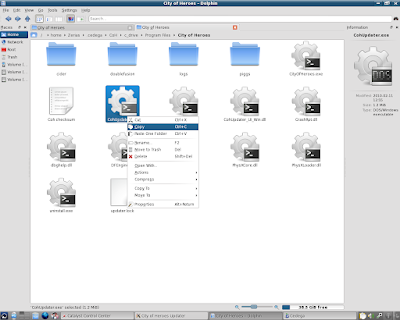
1: The file that we need to start the test server install is CohUpdater.exe
As this system already has a live install of the City of Heroes game, I can find the file under the /home/(username)/.cedega/CoH/c_drive/Program Files/City of Heroes folder that was created in the last guide.

2: We want to Copy the CohUpdater.exe file.
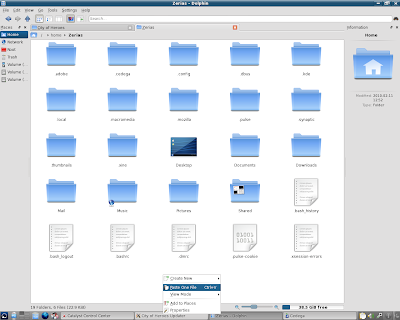
3: Lets Left Click on Home in the Left Hand Bar.

4: Paste the CohUpdater.exe file into the /home/(username) folder.
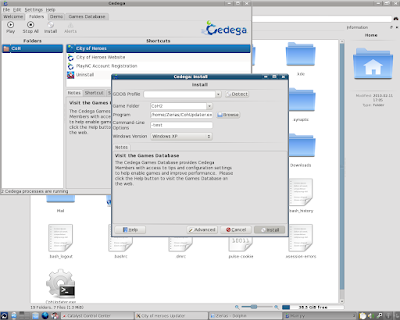
5: Now we can go to Cedega and Left Click on Install.

6: In the install window we see that Cedega has defaulted to our already existing CoH folder. We'll need to change that in a minute.
For now Left Click on Browse.
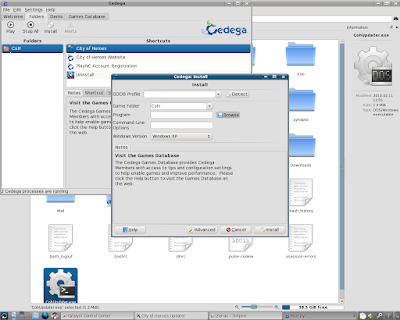
7: As always, Cedega defaults to the CD/DVD drive.
Left Click on the (Username) in the Left Hand Bar.

8: We should be taken right to the folder with CohUpdater.exe.
Left Click on CohUpdater.exe

9: Then Left Click on OK.

10: Go ahead and change the Folder Name.
Here, I've changed it to CoH2.

11: In the Command Line Options field, type in the text entry: -test

12: As with the live install, we'll want to set a windowed mode.
Left Click on Advanced.

13: Select your Desktop, or desired, resolution under Run in Window.

14: Here I've chosen 1280*1024.
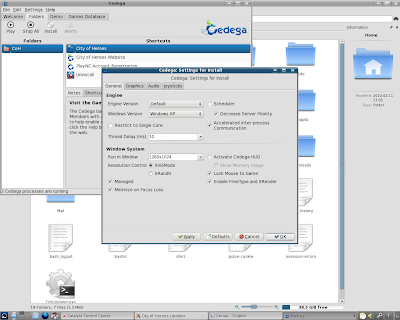
15: Left Click on OK.

16: We should be good to go, so Left Click on Install.
17: We should now have the City of Heroes launcher on the screen...

18: Then we should get a Dialog Box asking where to install the game. Chances are, if you didn't set a windowed mode, this dialog box will not display.
Left Click on Next.
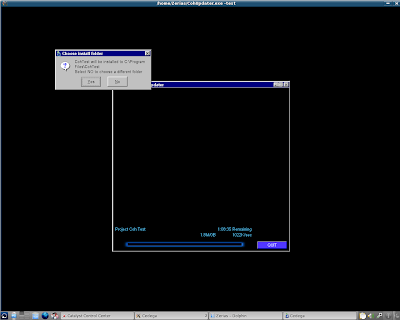
19: City of Heroes will start to download the files. As in the first guide, I'm going to cheat a bit.
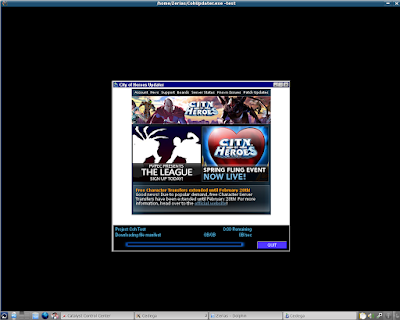
20: While we wait for the installer to download the base files, I'm going to go ahead and go to /home/(username)/.cedega in Dolphin.
Here we can see our new folder, CoH2.

21: Under CoH2 is a new c_drive

22: A new Program Files

23: Here we see the primary difference from the and the Live Server Install and the Test Server Install.
Our game folder is CohTest.

24: Here we can see some of the base files are already in place.

25: At this point, I'm going to go ahead and Close the City of Heroes Launcher.

26: In the last guide I had opened up a Flash Drive with a copy of a Windows Install.
The folder /media/disk/City of Heroes is still the first tab under Dolphin.

27: As before, I'm going to Copy the piggs folder.

28: The second tab under Dolphin is still /home/(username)/.cedega/CoH2/c_drive/Program Files/CohTest.
I'm going Paste the piggs folder into the CohTest folder.

As a note, if you didn't cheat on the first guide, you can use the piggs folder from the first install, which in this case would be under /home/(username)/.cedega/CoH/c_drive/Program Files/City of Heroes.
The reason why I didn't use the existing live install is that it was still installing, as evidenced by the City of Heroes Updater still running in the task bar.
29: Once again, since the piggs folder is the majority of the game data, the copy could take a while.

30: Once the copy is finished, we can go back to Cedega.

31: Before we launch the game again, we do need to make a few adjustments.
Left Click on the Settings Tab, if it's not already selected.

32: Go ahead and set a windowed mode for the game:

33: with a windowed mode set, Left Click on Apply.
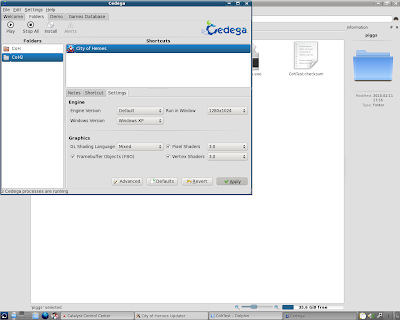
34: Now Left Click on the Shortcut Tab.
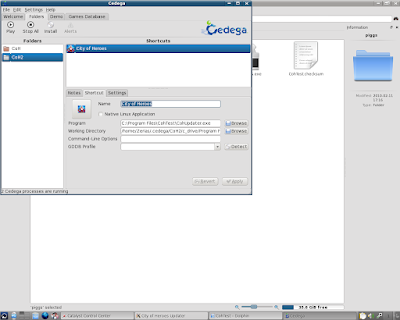
35: Under Command Line Options, type in the text entry: -test
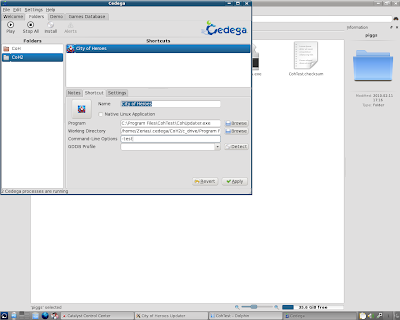
36: Then Left Click on Apply.

37: We'll probably be dropped back to the Left Hand Window selection.
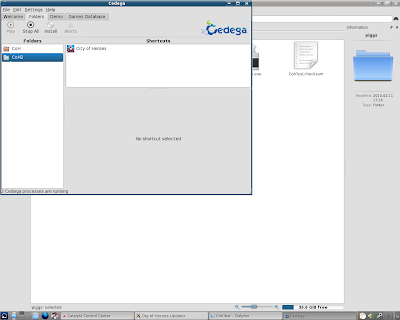
38: So, Left Click on City of Heroes under CoH2
Then Left Click on Play.

39: The installer should launch and start to work on updating the piggs and other files to test version.

40: Once the test server is finished loading, we can try to play.
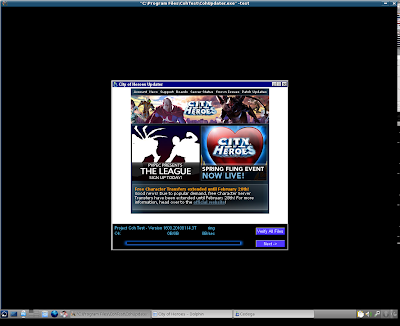
41: Once again, as I'm doing this on ATi hardware, and the Ultra Mode fixes haven't arrived yet, I'm greeted with screen corruption.
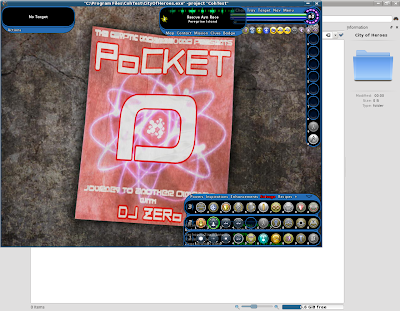
42: The fix is the same as on the Live Server.
Left Click on Menu.

43: Left Click on Options.

44: Left Click on the Graphics and Audio Tab.
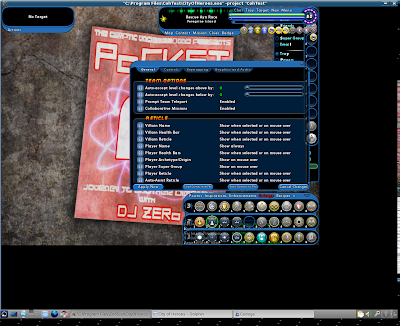
45: Left Click on Advanced Graphical Settings

46: The Advanced Graphical Settings should now be disabled.
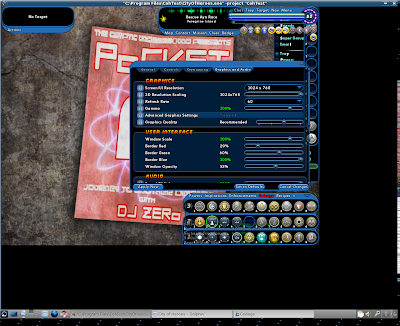
47: Left Click on Water Effects TWICE.

48: Water Effects should now be set to None.
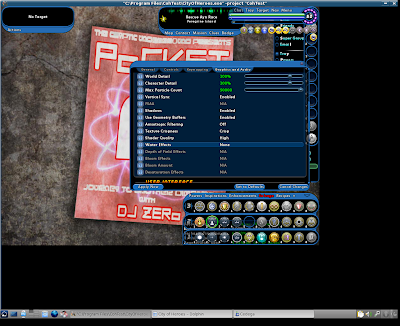
49: Left Click on Apply Now.

50: The screen corruption should clear right up.

51: Now, you might notice that although this system supports OpenGL 3.0 and is running an OpenGL 3.2 driver, several of the shader affects are disabled.
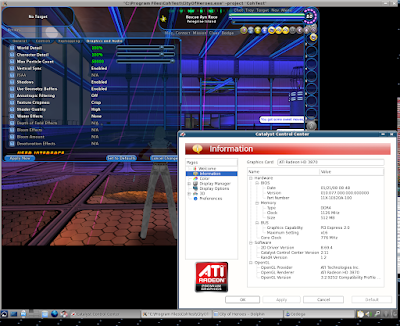
As I mentioned in the Live Server Install, the Water Effects option that causes corruption on the ATi drivers is actually disabled under equivalent hardware from Nvidia. Specifically the Triple-SLI GTS 250 system with the 195.30 driver set.
Nvidia - Live

Nvidia - Test

52: With our graphical corruption cleared up, we can once again set a new resolution for City of Heroes.

53: As in the Live Server Install, we'll need to restart to see the changes.

54: So once again, Quit to Login Screen.

55: Left Click on Exit
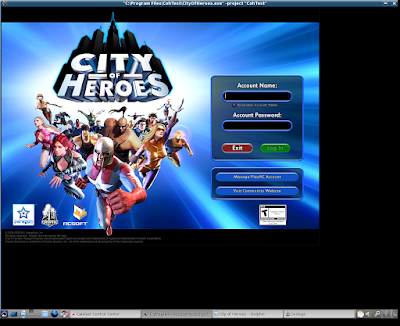
56: Launch the game again...

57: We should now be in full resolution. As in the live server guide, if you want to turn windowed mode off, you can do so through the Cedega User Interface.
So there we go, installing the Test Server through Cedega.
And yes, I used pre-existing characters on purpose. You'll just have to wait for the NDA's to lift.
***
As a special note, I do need to extend thanks to Intel. The processor used for this guide system is one of their I7 Engineering Samples.
No comments:
Post a Comment